Installation
CalenGoo can manage tasks in addition to calendars and events. The tasks are synced with Google Tasks or with the iOS reminders (which in turn can be synced e.g. with Exchange). You can access them on http://calendar.google.com by clicking the task icon on the right side: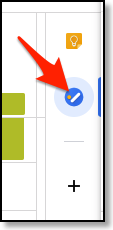
To use CalenGoo’s task functions you have to activate them first. Please turn your Google account on under “Settings > Tasks” on or add an additional account by clicking "Add account":


If you would like to sync Exchange tasks with CalenGoo, just add your Exchange account in iOS’ "Settings" app under "Mail, Contacts, Calendars" and ensure that the sync of tasks is turned on in the last step. Then start CalenGoo and turn "Settings > Tasks > iOS reminders" on.
Afterward return to the calendar day view and tap “Start Sync” to see if the task sync works. You should see a new button to access the task list:

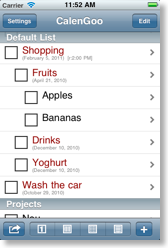
If the sync fails please see here how to fix it: Fixing task sync problems
Additionally your tasks with due dates are displayed in the calendar views:


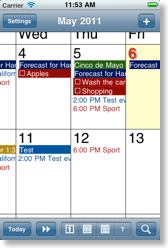
To also see the overdue tasks in the calendar views, you can turn “Settings”, “Display and Use”, “Advanced”, “Tasks view”, “Show overdue tasks on today” on.
Removing completed tasks
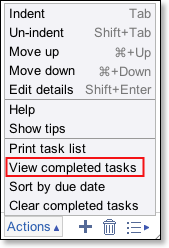
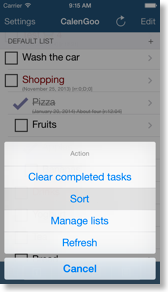
If you want to remove completed tasks from the list you can tap the action button in the lower left corner of the tasks view and choose “Clear completed tasks”. (Please ensure that you are connected to the Internet when you use this function, otherwise it won’t work and you will be asked if you would like to delete the completed tasks instead.) Afterward your completed tasks won’t be visible in CalenGoo any more, but you can still see then in Google Tasks under “Actions”, “View completed tasks” (except if you have activated “Settings”, “Display and Use”, “All”, “General”, “Tasks-Clear deletes tasks”, then they will be deleted and are not visible in the “View completed tasks” list).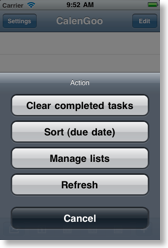
Reordering tasks
Normally you can reorder and indent tasks by turning the edit mode on with the “Edit” button and then moving the rows with the gray control at the right side of each line or my dragging a line horizontally. Please see this video: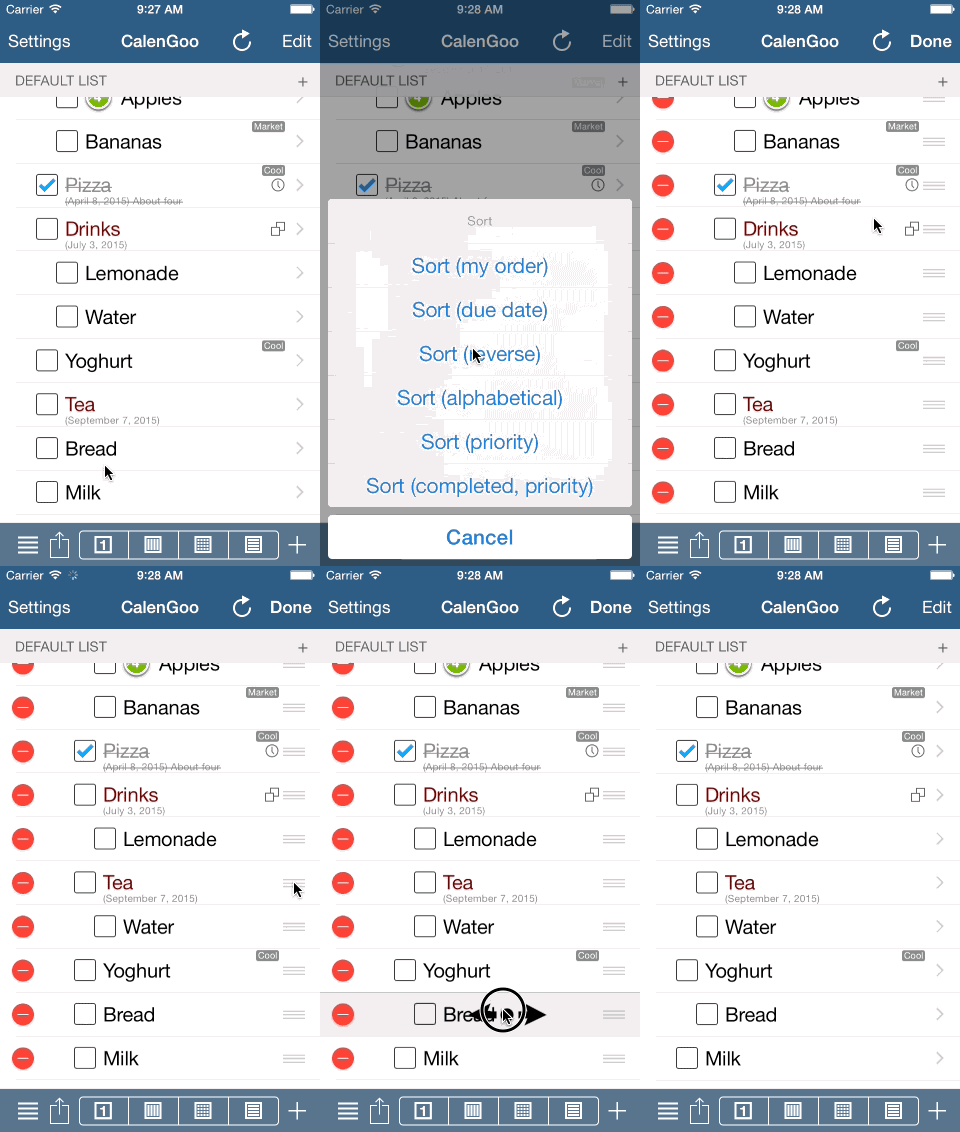
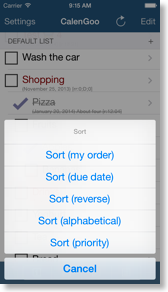
This works only for Google tasks, not for iOS reminders. If it does not work, please ensure that you are using the correct “Sort order”. To be able to reorder tasks, you have to be in “Sort (my order)” mode. You can change the sort order by tapping the action button in the lower left corner and choosing “Sort”.
Assigning reminders to tasks
If you would like to add reminders to tasks, you have to turn “Settings”, “Reminders”, “Task reminders” on. Then you will get an option in the task edit view to add reminders:
(The reminder function can be obscured by the keyboard, so it may be necessary to scroll the table to see it.)
By tapping “Add another reminder...” you can add a new reminder. It will by default use the time configured under “Settings”, “Display and Use”, “Tasks view”, “Reminder default time”. The reminders are saved into the notes field of the task because Google Tasks does not support reminders by itself. If you add a reminder for the day of the due date, only the time is saved and the reminder is also moved if the task is moved.
Add/reorder/remove task lists
You can add new tasks list, delete existing tasks lists, rename task lists and reorder your task lists by tapping the “action” button in the lower left corner of the task view and choosing “Manage lists”:

To delete a task list, tap the red “-“ button in front of the list. To rename it, tap the list’s name. To reorder your lists, drag them with the gray handle at the right. And to add a new list tap the “+” button in the upper right corner.
Recurring tasks
You can also create recurring tasks, just scroll down in the task edit screen and turn “Recurring task” on:

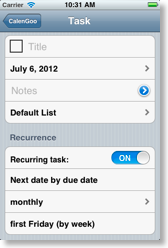
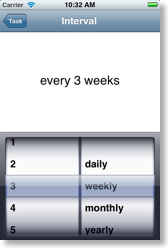
There you can find the same recurrence rules that you can also use for events (except that you cannot set an end date for a recurring task yet).
Please watch this video to see how it works:
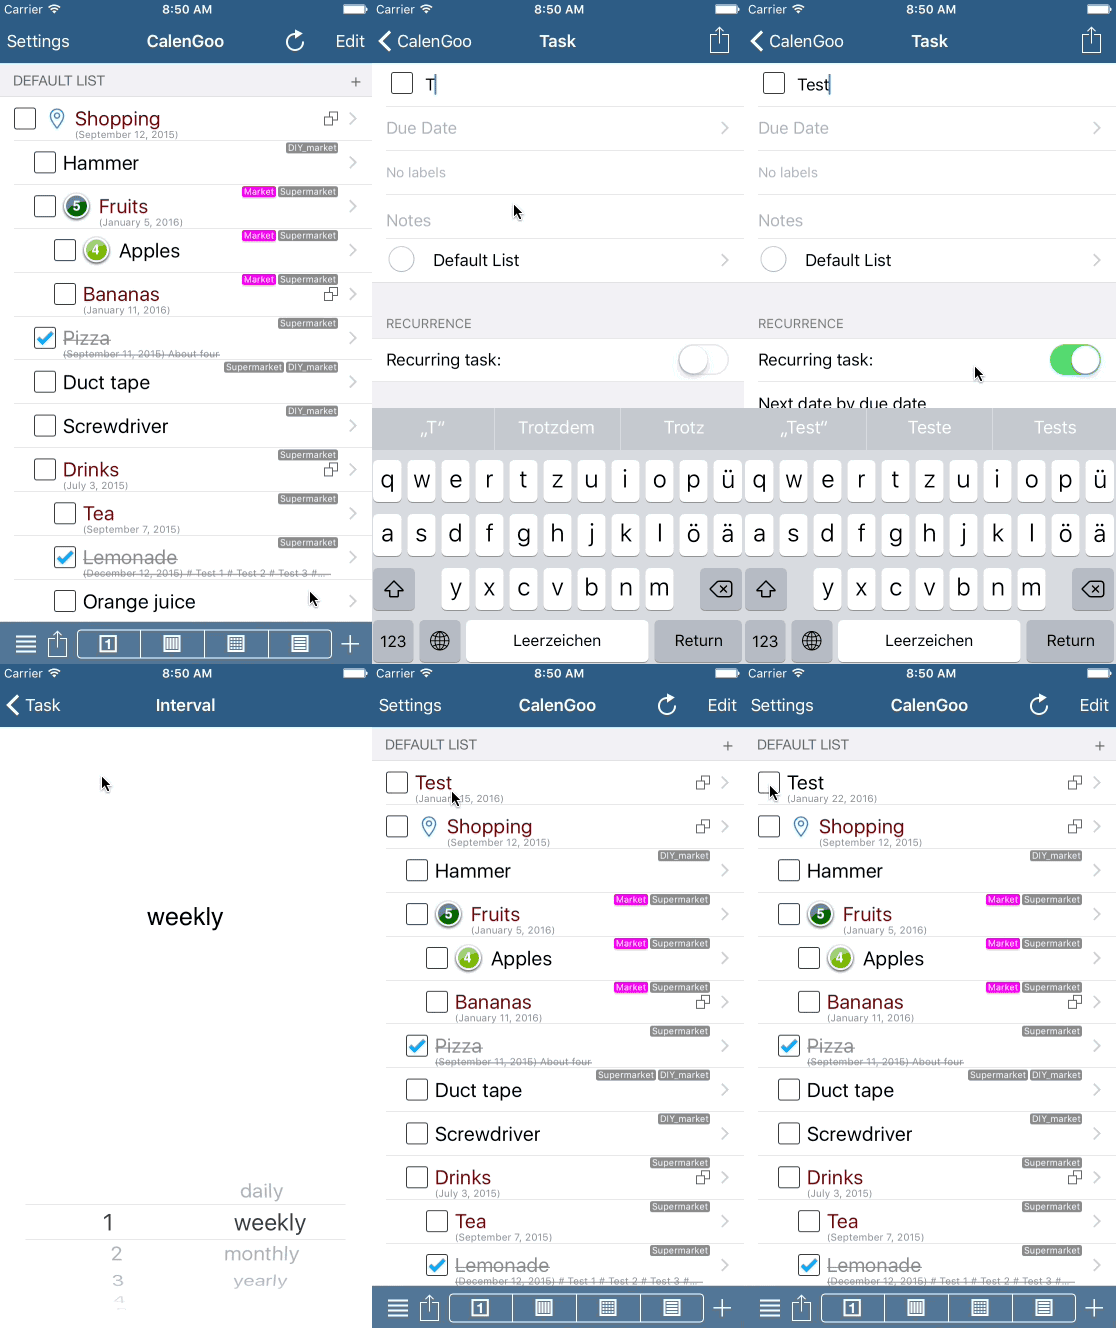
You can choose between two methods how to advance the due date when the task has been completed:
- Next date by due date: The next due date will be computed based on the previous due date. E.g. if you have a task that has to be completed every two days, but you complete it after three, the due date will still be the previous due date plus two days.
- Next date by completion date: The next due date will be computed based on the completion date, i.e. the date when you mark the task as completed. E.g. if you have a task that has to be completed every two days, but you complete it after three, the due date will be the completion date plus two days.

Currently recurring tasks are only displayed on their next due date in the calendar views. The reason is that they are still single tasks that are just unchecked and moved forward to their next due date when they are completed. Google Calendar/Tasks doesn’t support recurring tasks yet, so this is the way how CalenGoo "simulates" them.
If you would like to see a certain task on all future due dates, please consider using a recurring "Floating event" instead. It works similar to tasks but is displayed on all future due dates.
Adding events and tasks using the “+” button
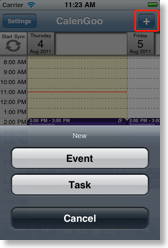
If you turn “Settings”, “Tasks”, “[+] for tasks/events” on, you can create events and tasks for the currently displayed day using the “+” button. Every time you tap that button you will be asked if you would like to add an event or a task:
Collapsing task lists
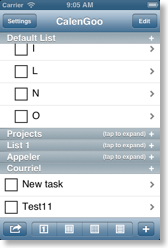
It is possible to collapse task lists. Just turn "Settings", "Display and Use", "Advanced", "Tasks view", "[+] button in headers" on. Then you can tap on the header of a task list to collapse or expand it. When a task list is collapsed, only its header is displayed but the tasks are hidden. The tasks are nevertheless displayed on their due dates in the calendar views unless you turn "Settings", "Display and Use", "Expert", "Tasks view", "Hide collapsed tasks in calendar views" on.And by tapping the small "+" button on the right of each header, you can add a new task to that list.

Priorities
You can assign a priority (1-5) to a task by tapping the white circle in front of the task list’s name:

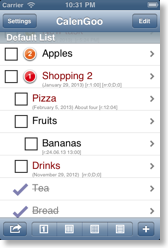
Using the sort function (by tapping the action button in the lower left corner and choosing "Sort") you can sort the tasks by their priority.
Sort options
You can choose between different sort options by tapping the action button in the lower left corner and choosing "Sort":
Actions
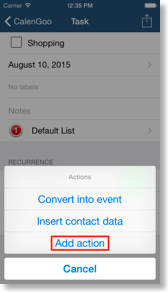
It is possible to add actions to tasks. The actions are displayed as an icon in the task view and can be executed with a single tap. E.g. you can add a location to a task and navigate to it by just tapping the blue location button in the task:


Inline editing
A convenient way to add multiple simple tasks is to turn the "Inline editing" function on. Then you can edit tasks just by tapping them, without leaving the task view, and you can add new tasks by tapping the "Next" button. Please watch the video here:
and here you can find a short overview:

Colors of task lists
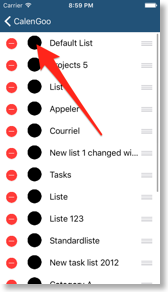
The colors of task lists and their tasks can be changed, so that each task list uses an own color. The color is used in the task view and the calendar views except for due and overdue tasks which are usually highlighted in red.To change the color of a task list just follow these steps:




Labels
CalenGoo supports adding multiple labels to tasks. These labels are similar to the labels of GMail. They are useful if tasks belong to multiple categories and thus cannot be categorized only by task lists. Imagine you have a shopping list and some items can be bought in multiple shops:
When you are in a shop you just select the label that you have created for the shop and can see all items that you can buy there, e.g. all items that you can buy in the supermarket:

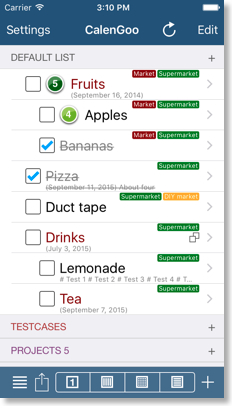
or all items that you can buy in the DIY market:

This wouldn't be possible with normal task lists, because there each task can only belong to a single list. That means you would either have to check multiple lists when shopping (with one task for each item) or you would have to check multiple tasks (if you add a copy of the task to each task list that applies).
Using Google Tasks in Google Calendar (instead of Reminders)
Google Calendar now sometimes displays "Reminders" instead of "Tasks" in the "My calendars" list on the left side. If "Reminders" is there, you won’t see the tasks that you enter with CalenGoo. And you won’t see the "Reminders" that you enter in Google Calendar in CalenGoo. So to switch from "Reminders" to "Tasks" just click on the button to the right of "Reminders" and select "Switch to Tasks":


